Featured
Free Editorial Calendar Templates

Plan Your Editorial Calendar With Ease
Often, the greatest challenge of blogging is not the actual writing. It’s all the related tasks, like brainstorming topics for your audience, optimizing posts with the best keywords, and, yes, even planning and scheduling the content itself. Yet, each of these steps is necessary to be organized, focused, and ultimately, successful.
This is where our Blog Editorial Calendar Templates come in handy.

Because Planning Shouldn't Be The Hard Part
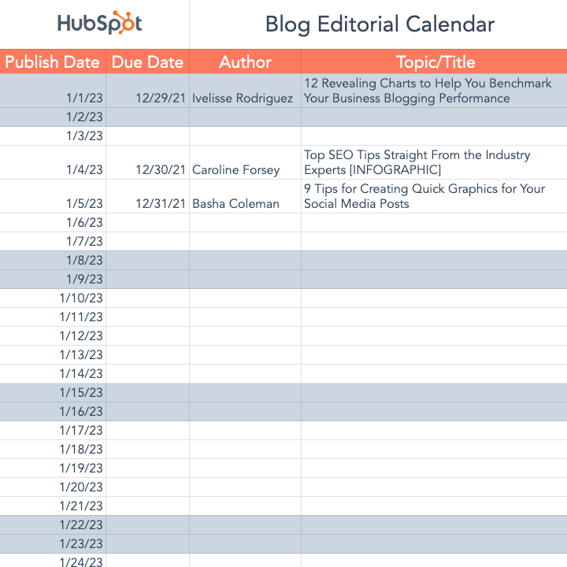
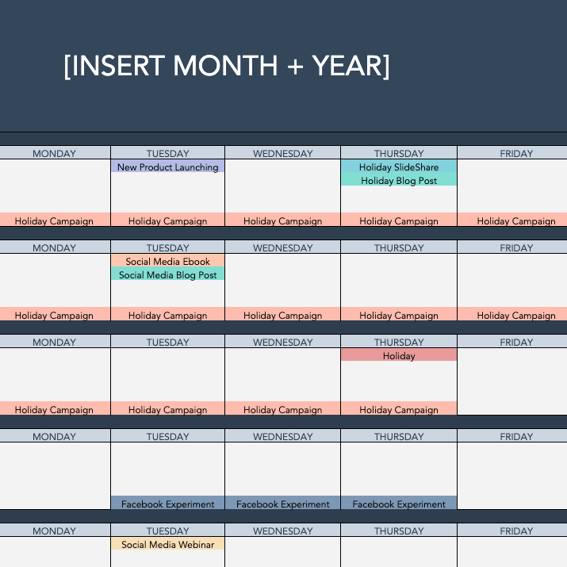
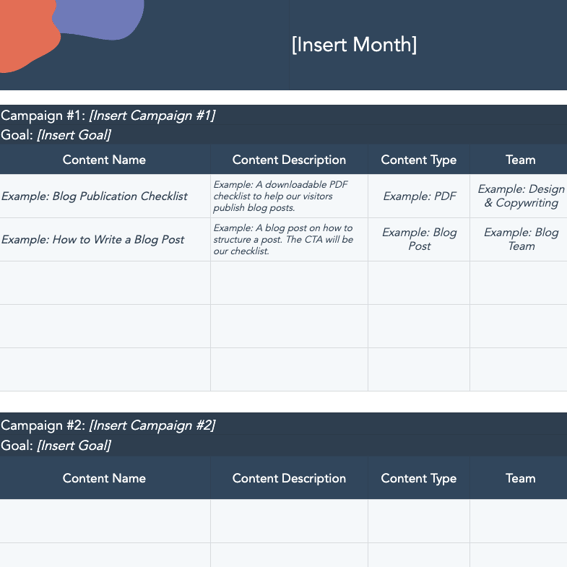
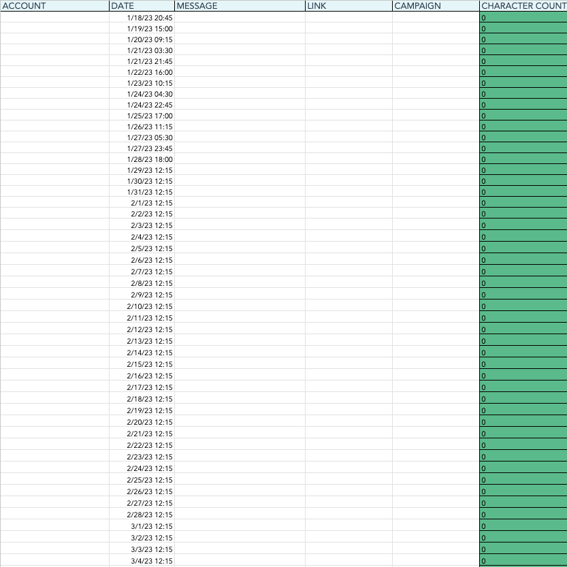
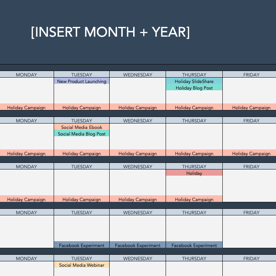
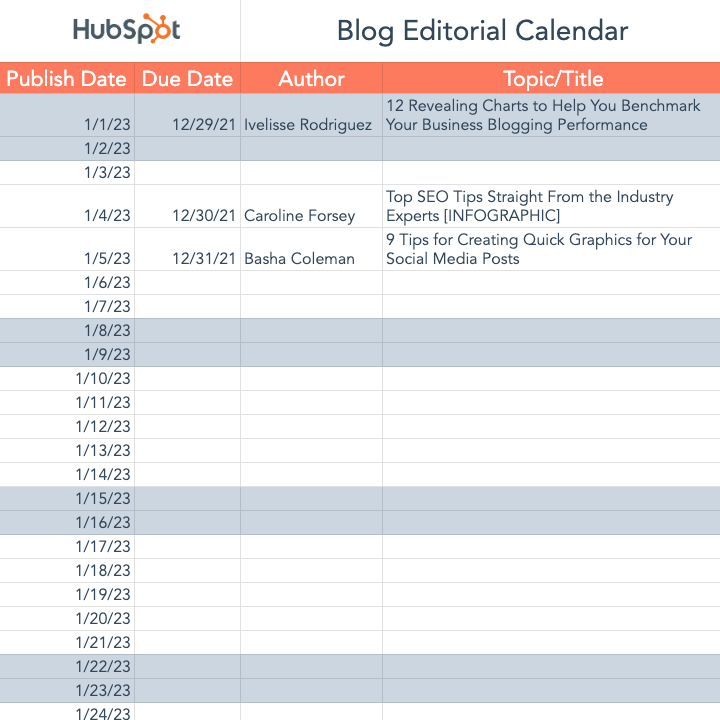
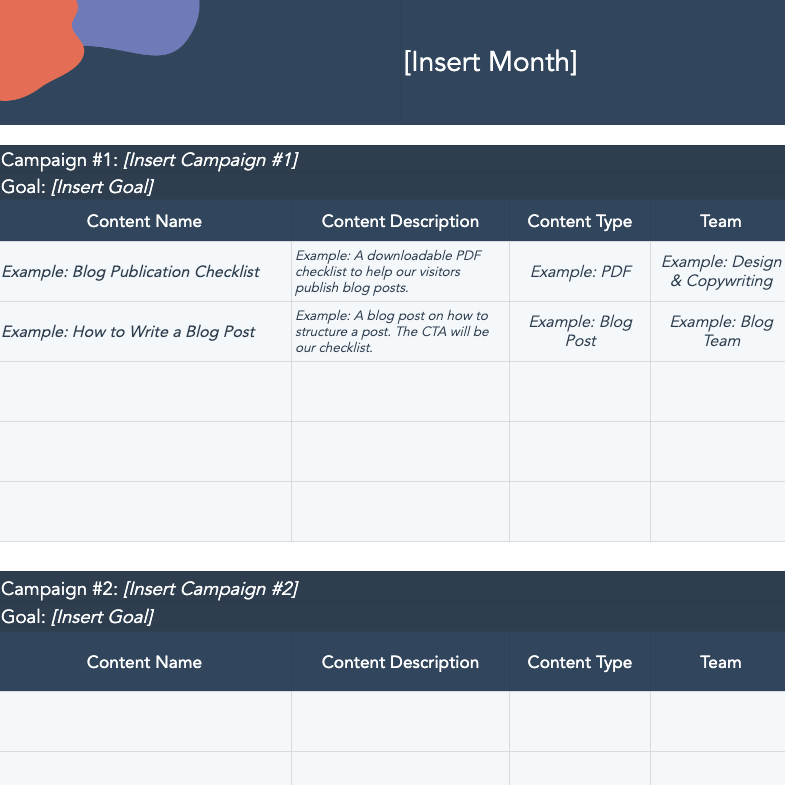
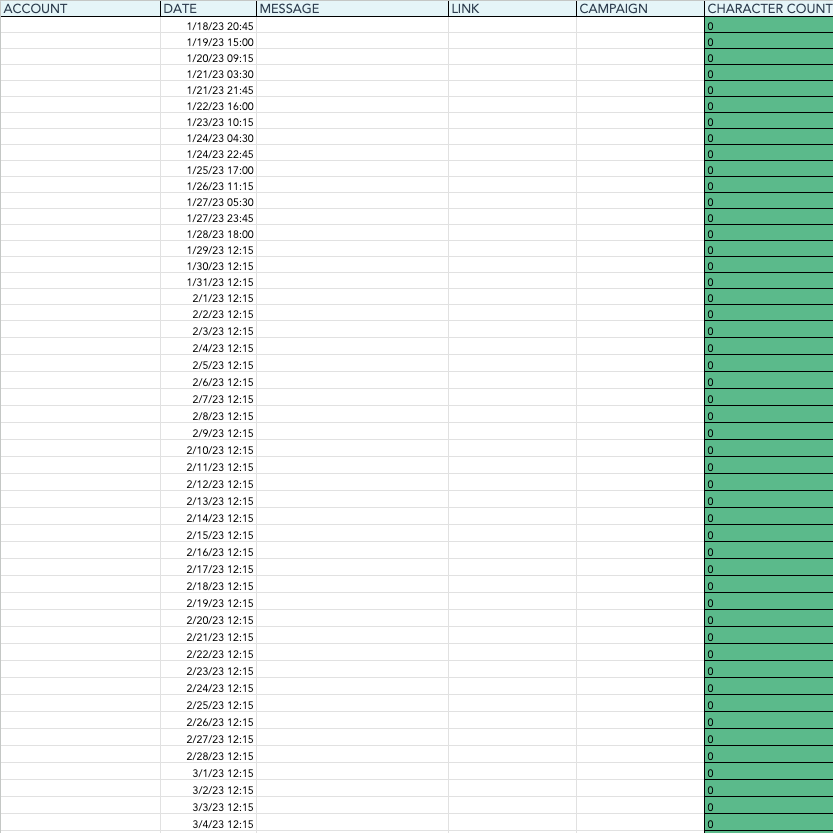
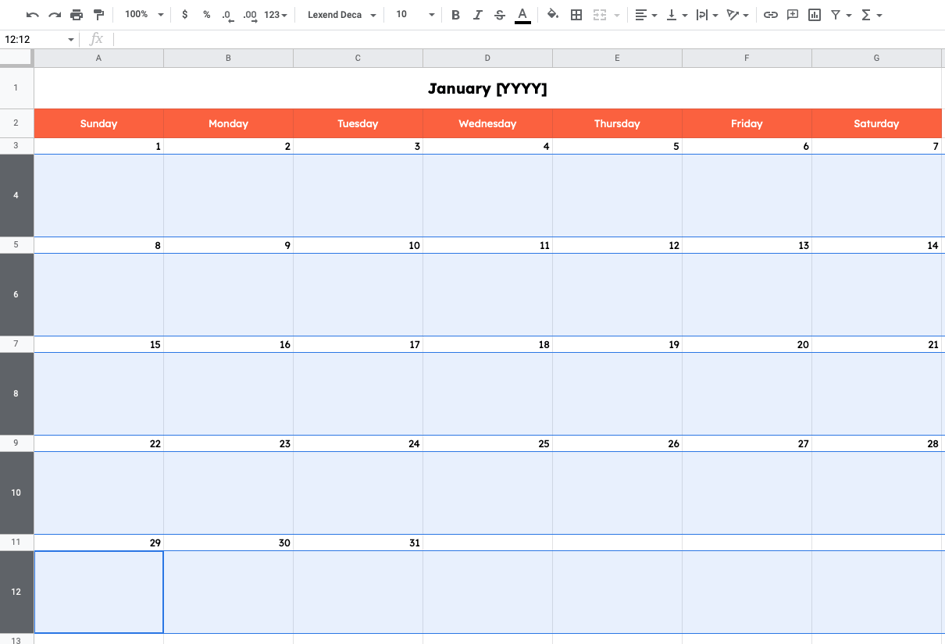
In this free resource, we’re sharing three different formats for your blog editorial calendar (Excel, Google Sheets, and Google Calendar), and we’ve thrown in our social media calendar and content calendar templates to round out the kit.
To help you speed up the implementation of your new blog editorial calendar, we’ve also written out instructions for each template and gathered some expert blog management tips. With a little bit of customization, your editorial calendar will be running smoothly, leaving you more time to focus on the quality of your content.